Underfloor Heating Leak Detection
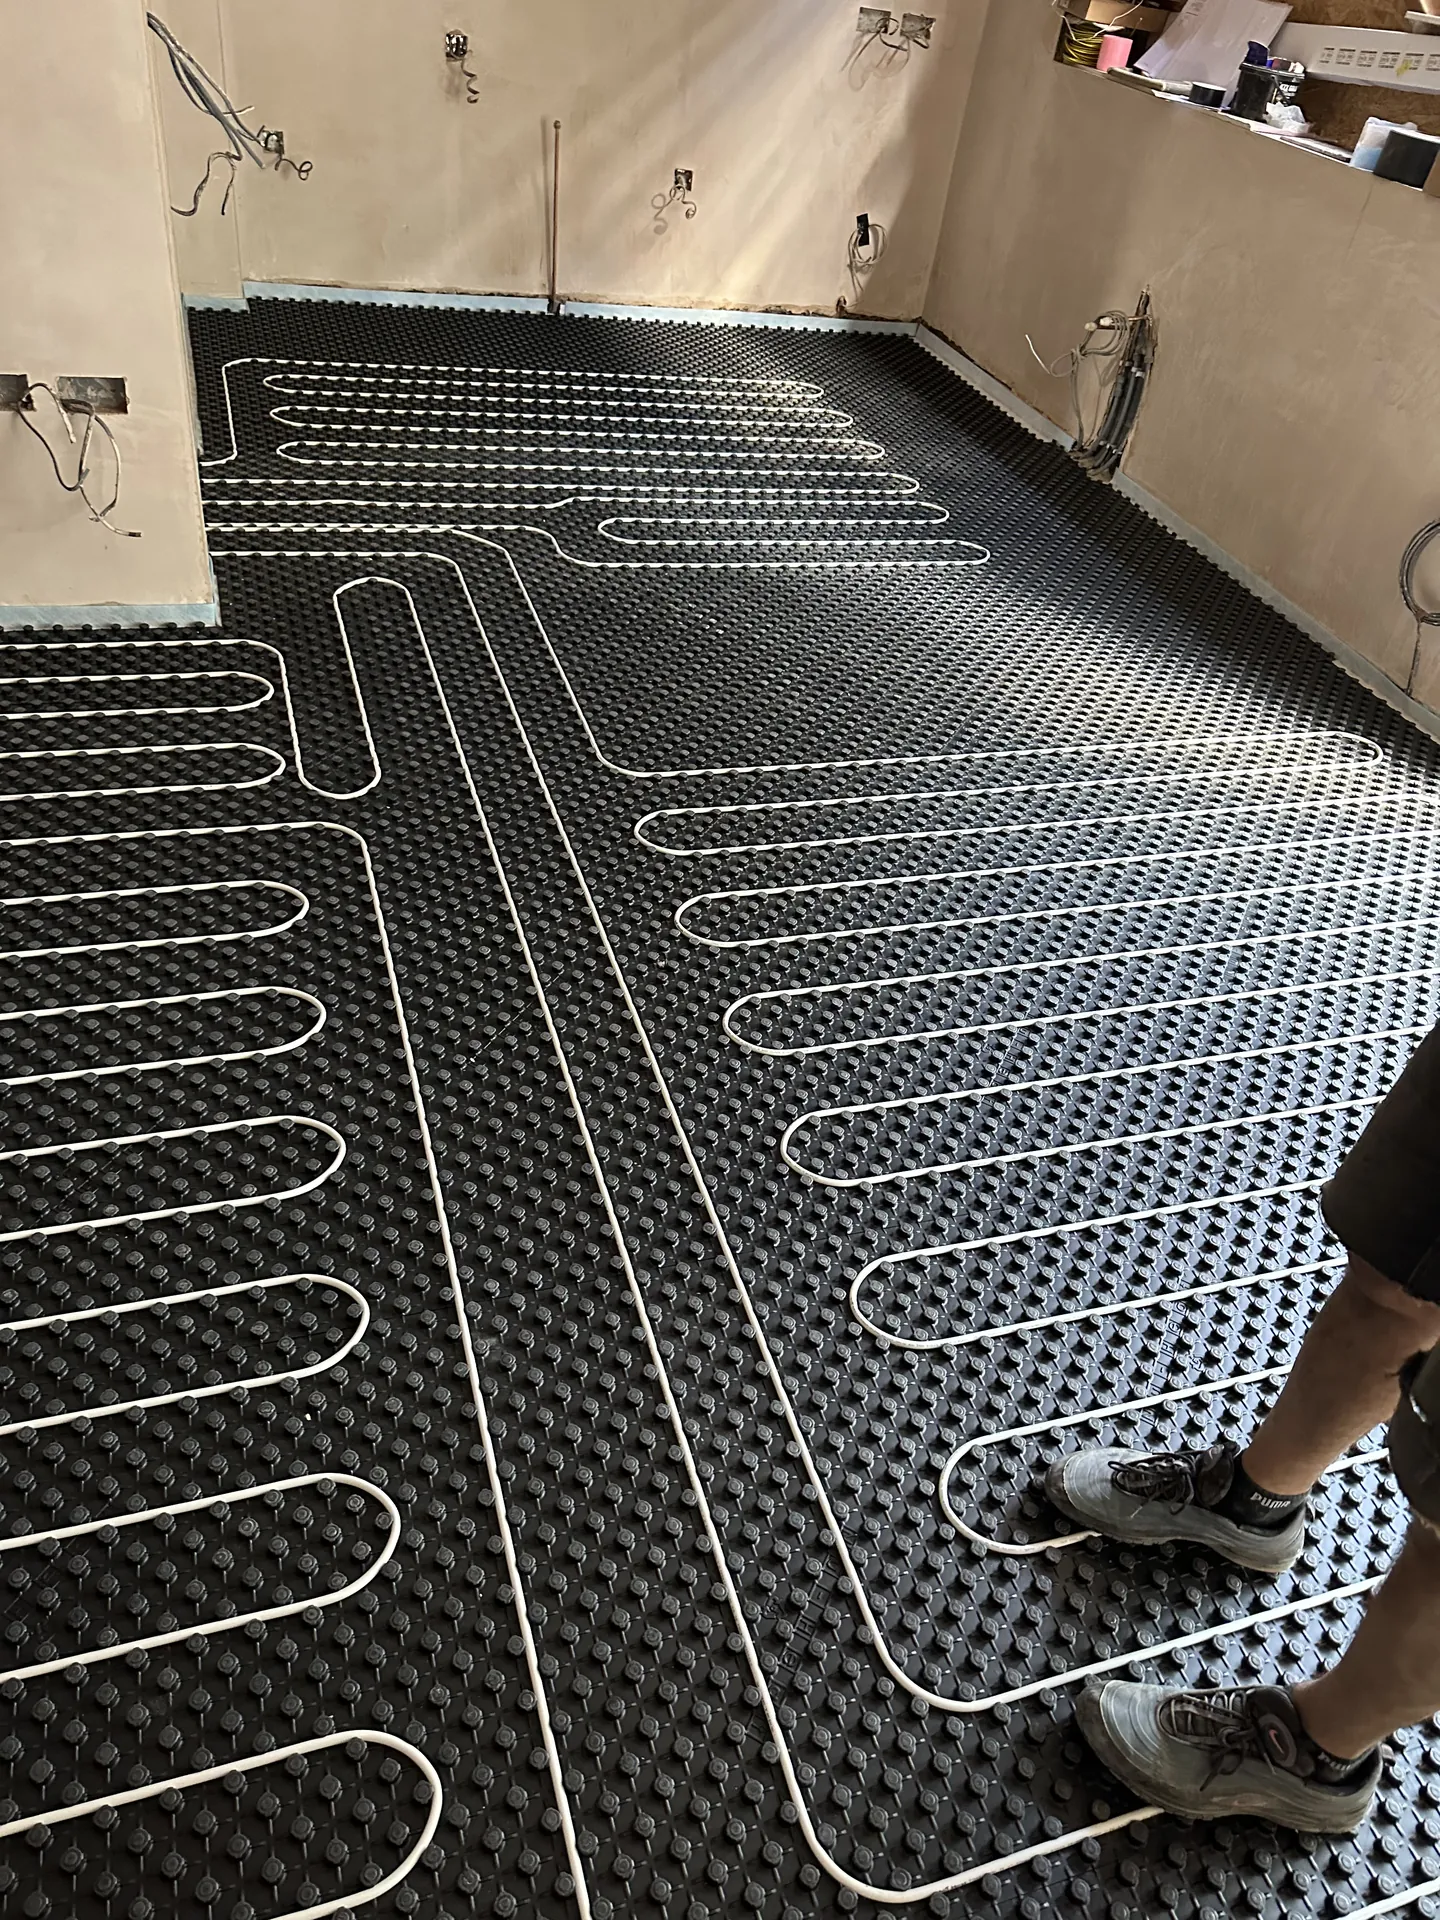
Underfloor heating leaks are the ones people dread, because the pipes are in the screed under a finished floor. Done properly, the leak is found from above and the floor is opened in one small spot.
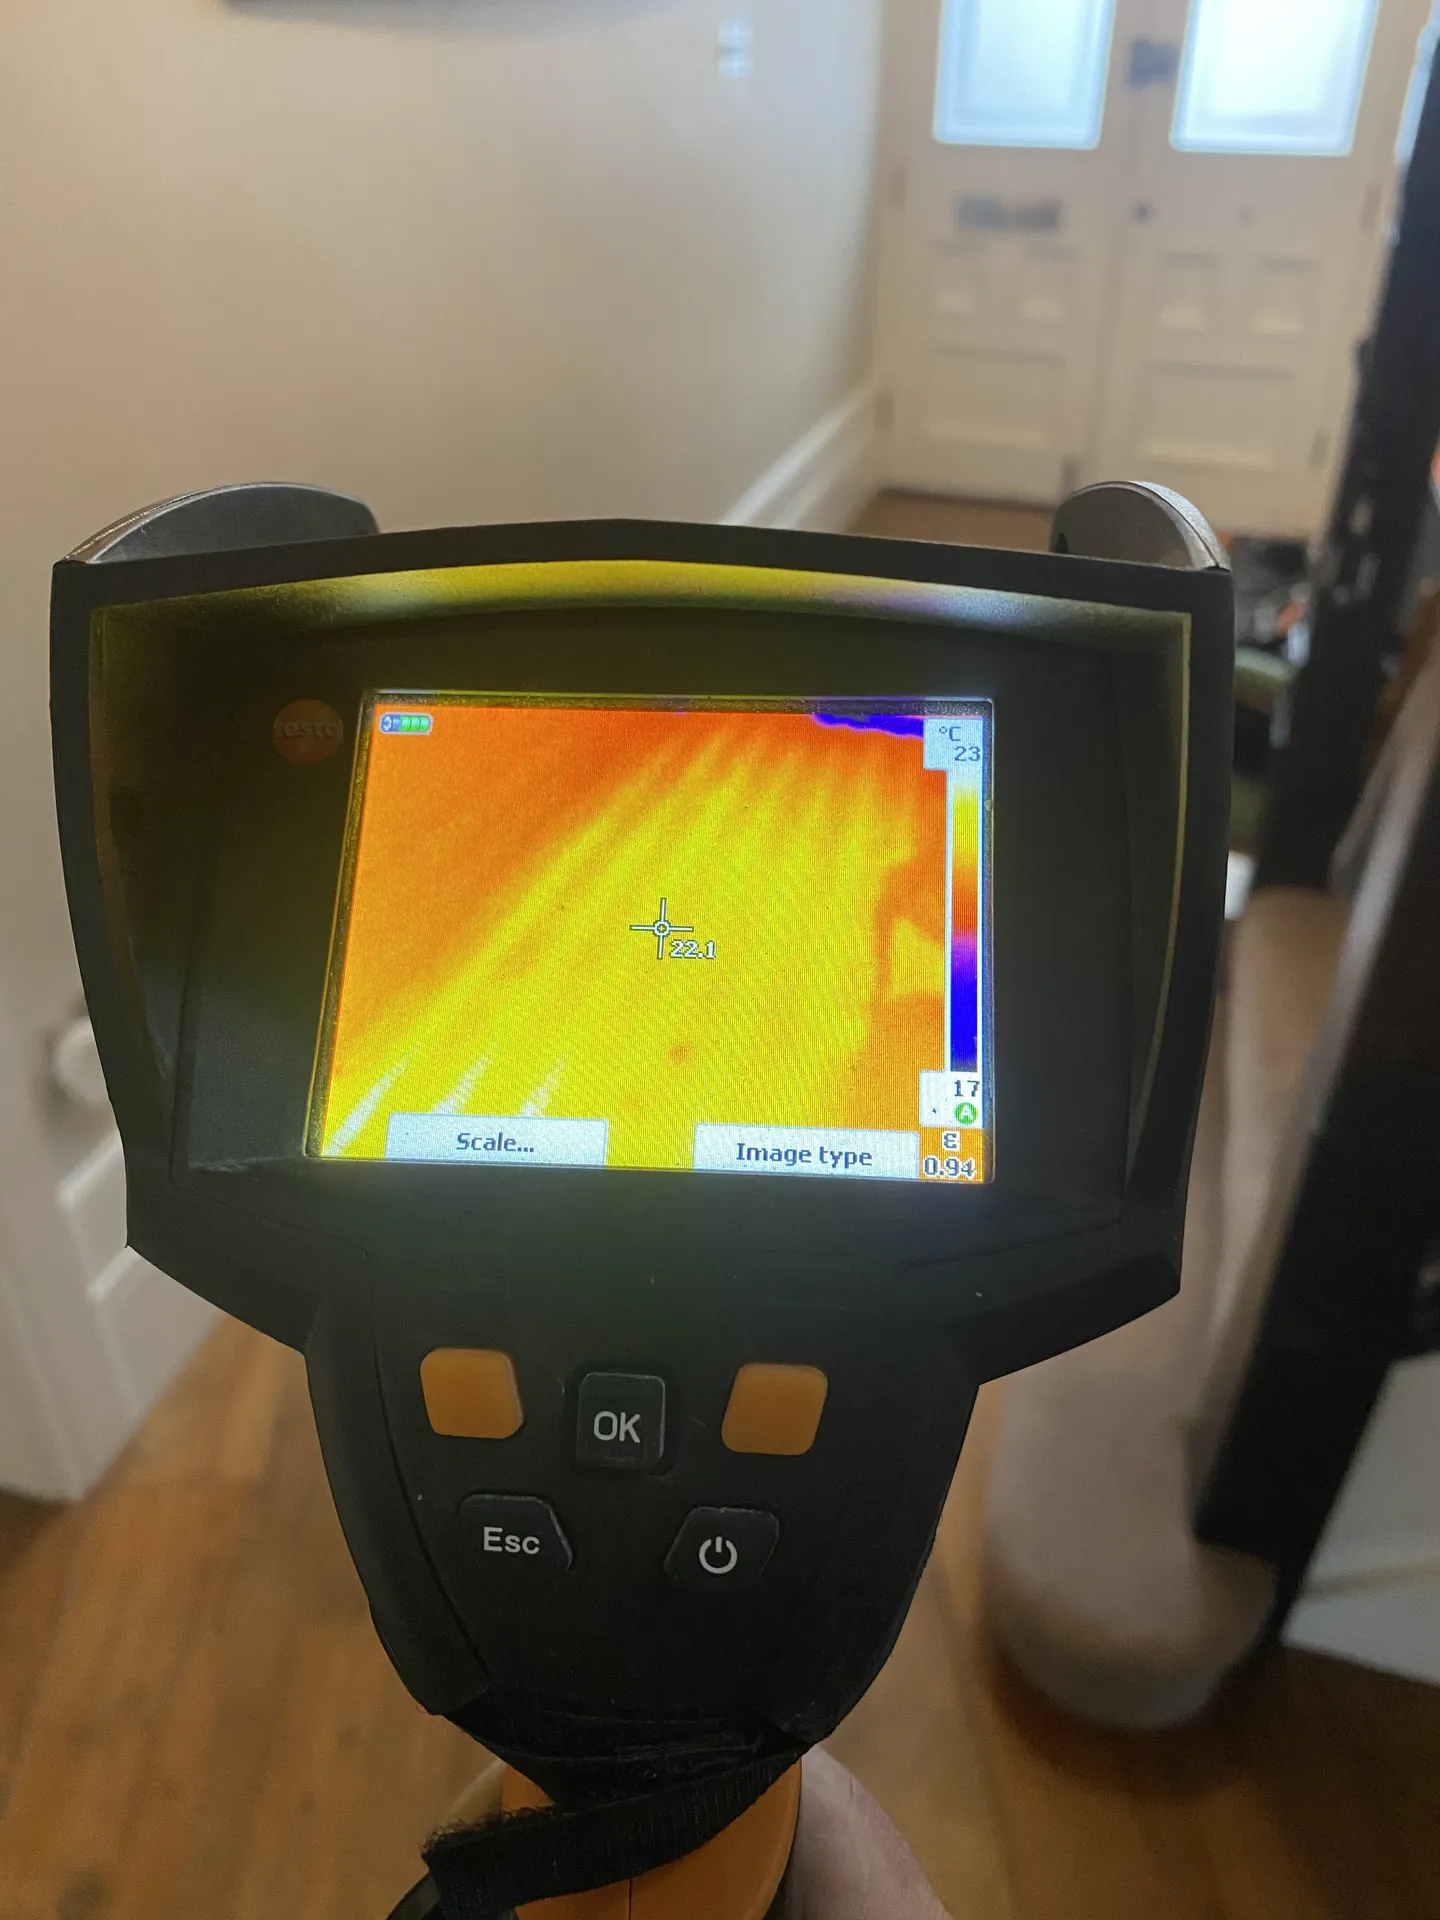
Underfloor heating leak detection, step by step
The first step is at the manifold. We pressure test each loop separately, so the leaking circuit is identified before we go near the floor. That alone narrows a whole house down to one room, and often to one part of a room.
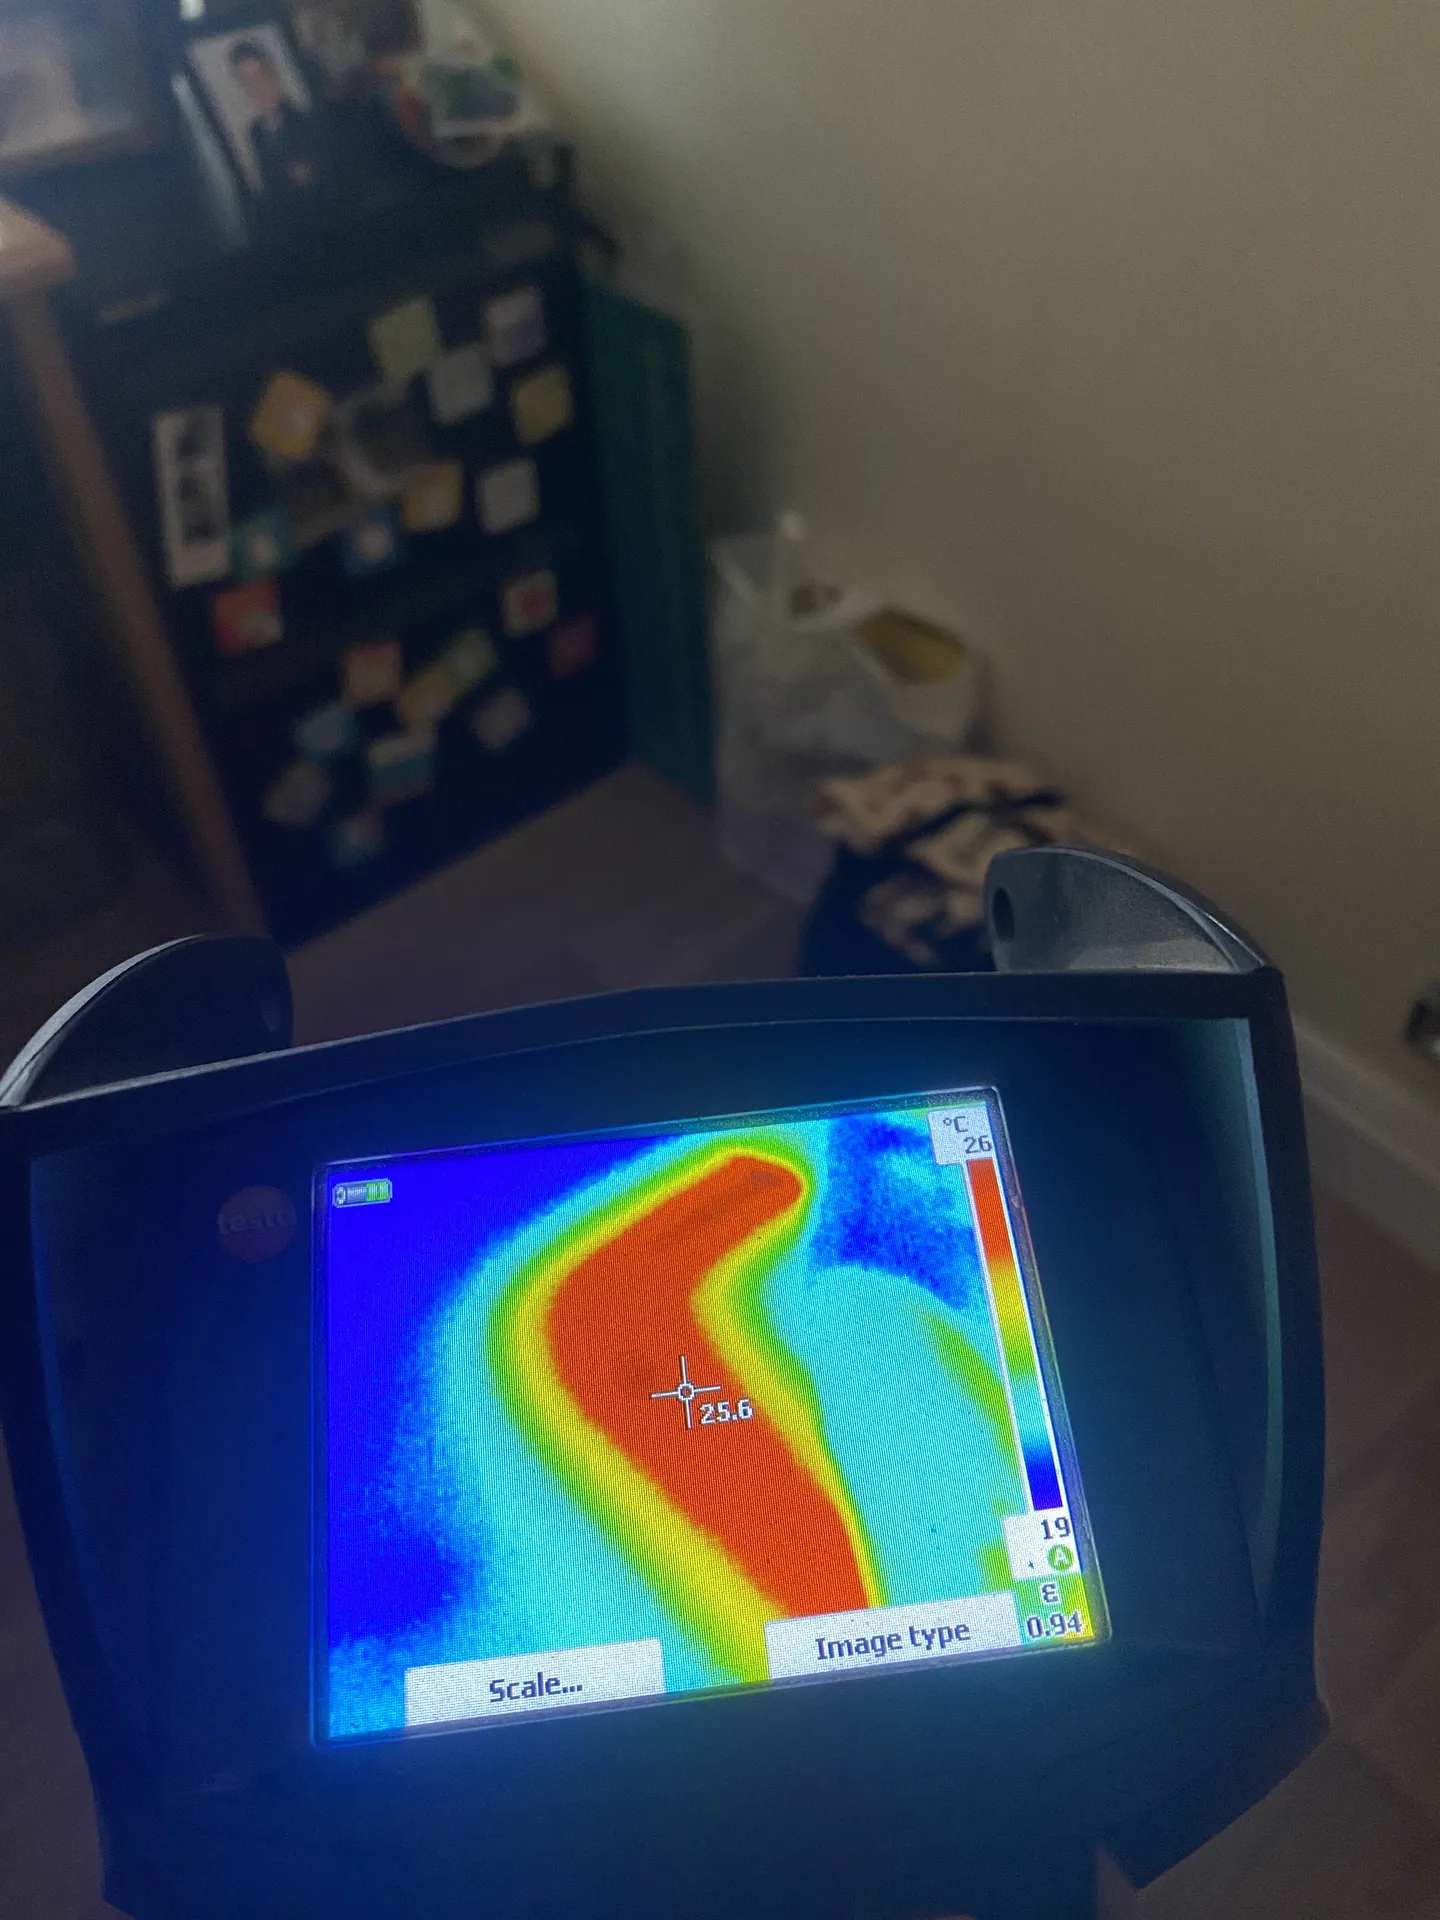
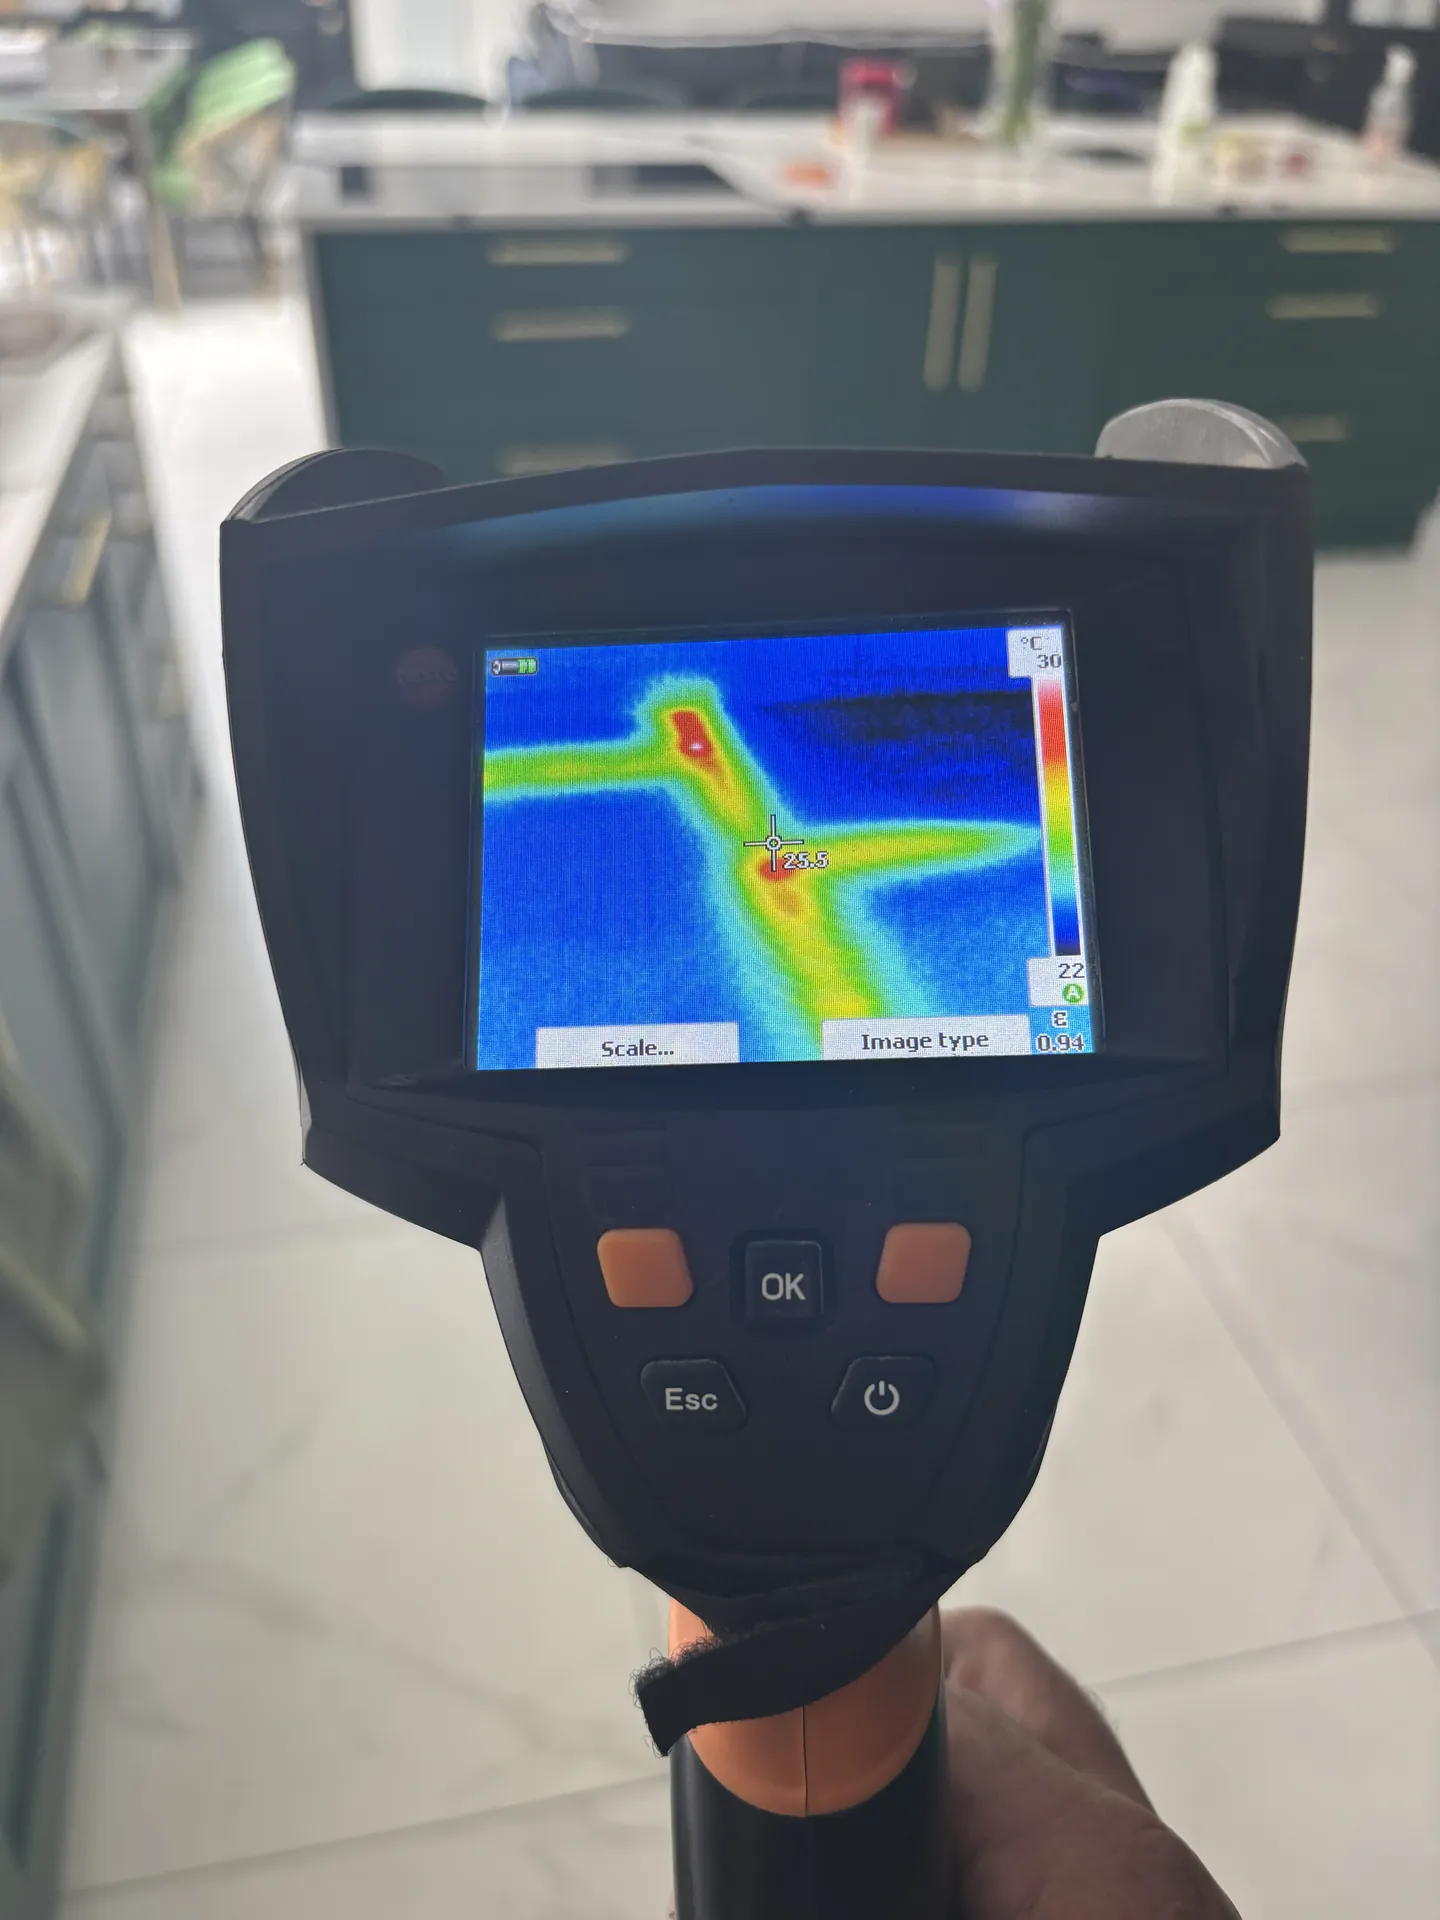
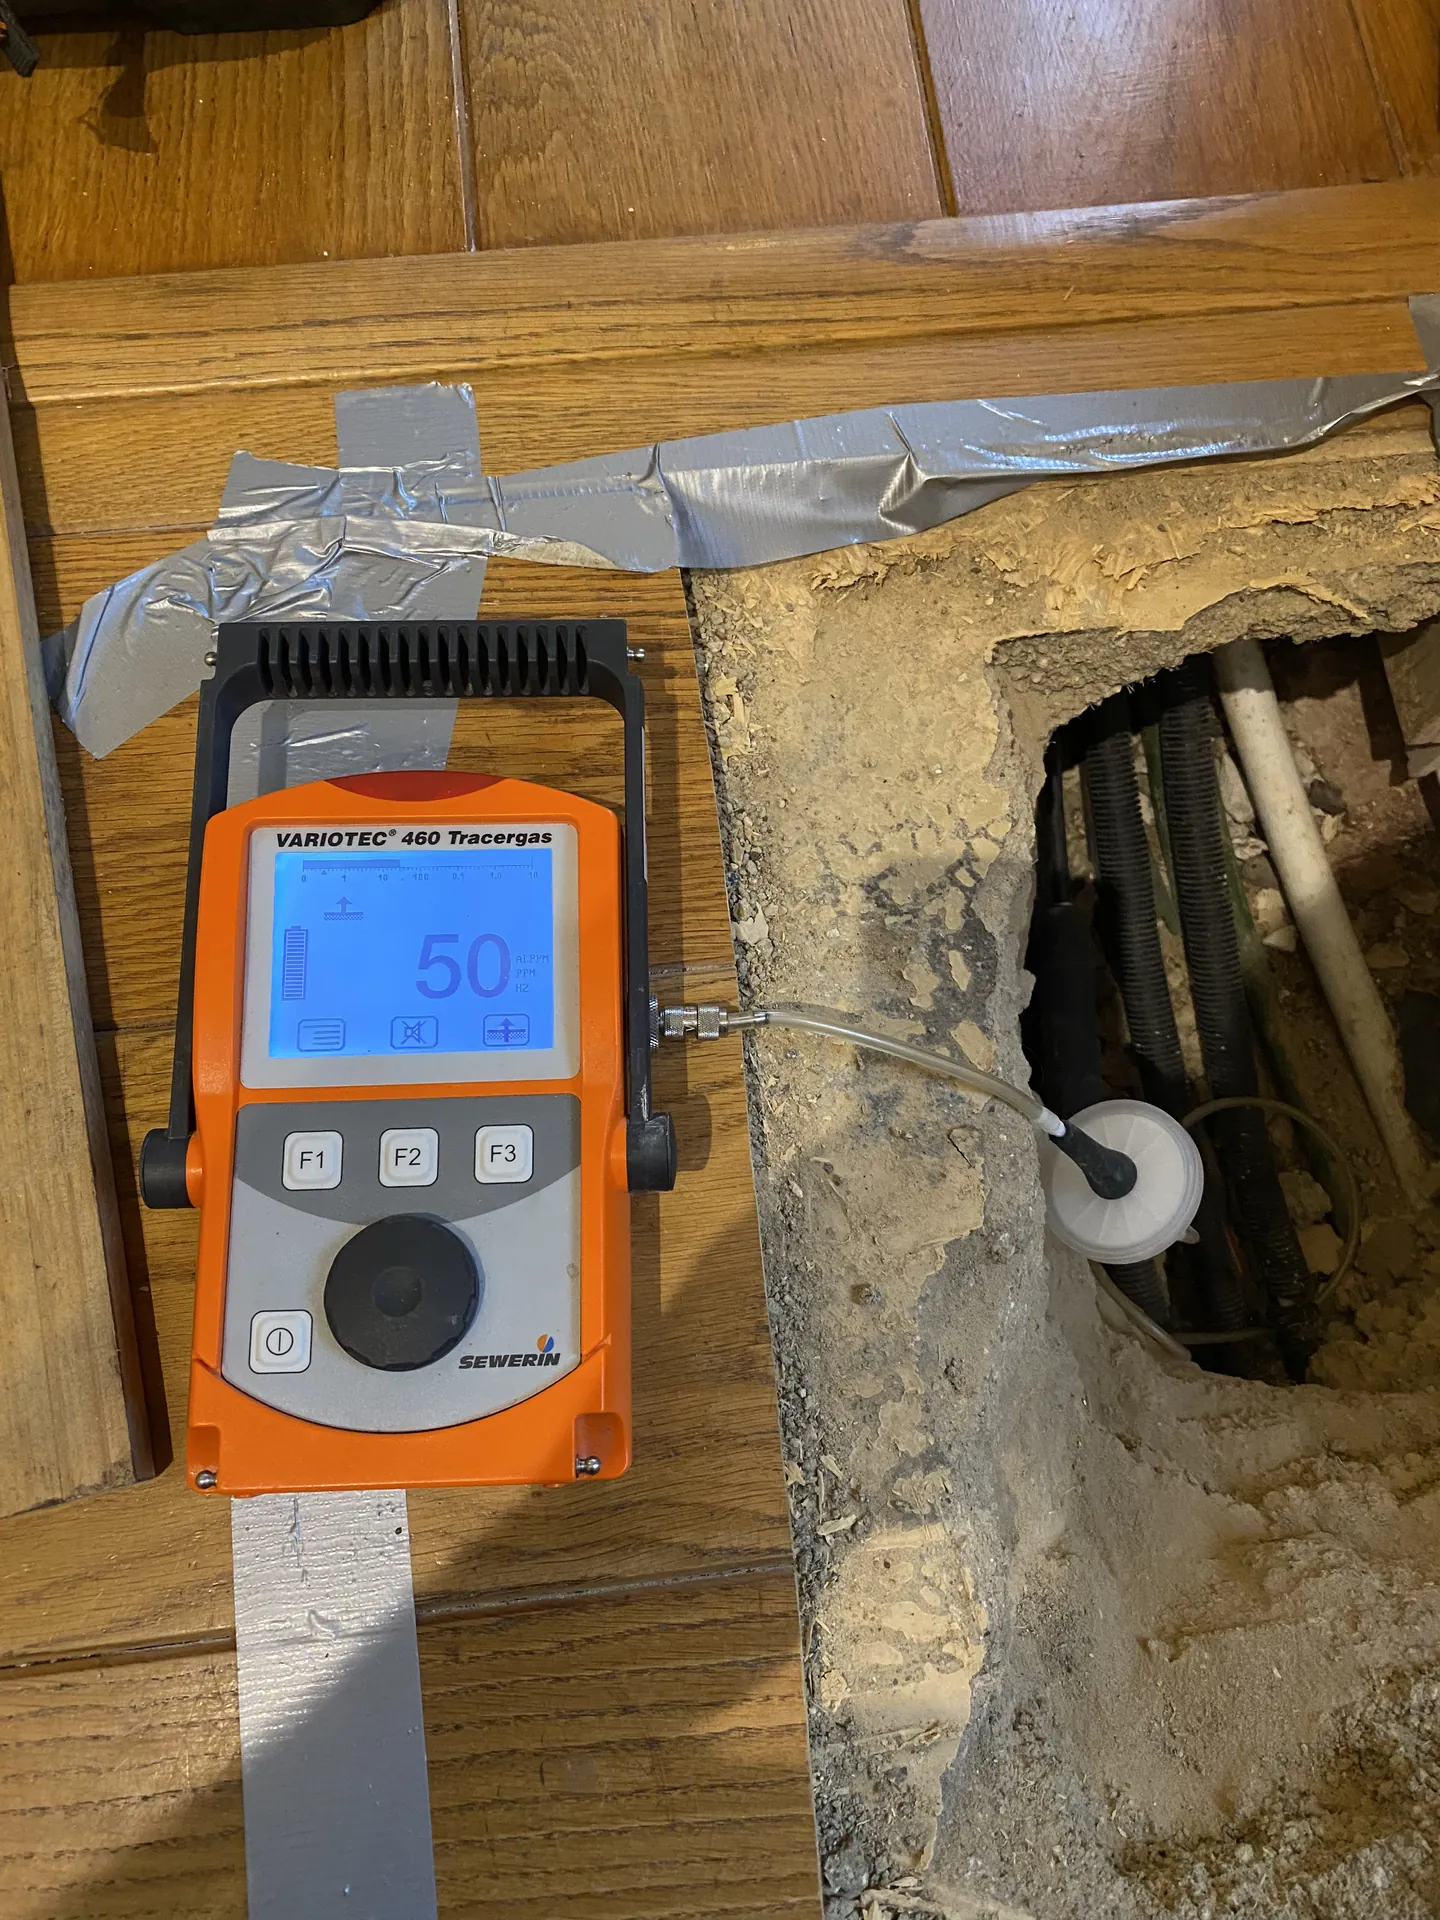
With the leaking loop running warm and the others off, the thermal camera shows the pipe layout through the floor, whether it is tile, wood or carpet. A leak shows as a warm bloom spreading away from the line of the pipe. Where the loop is deep or the leak is slow, we drain that loop and charge it with hydrogen tracer gas. The gas rises through the screed and the detector picks it up at the surface directly above the leak.
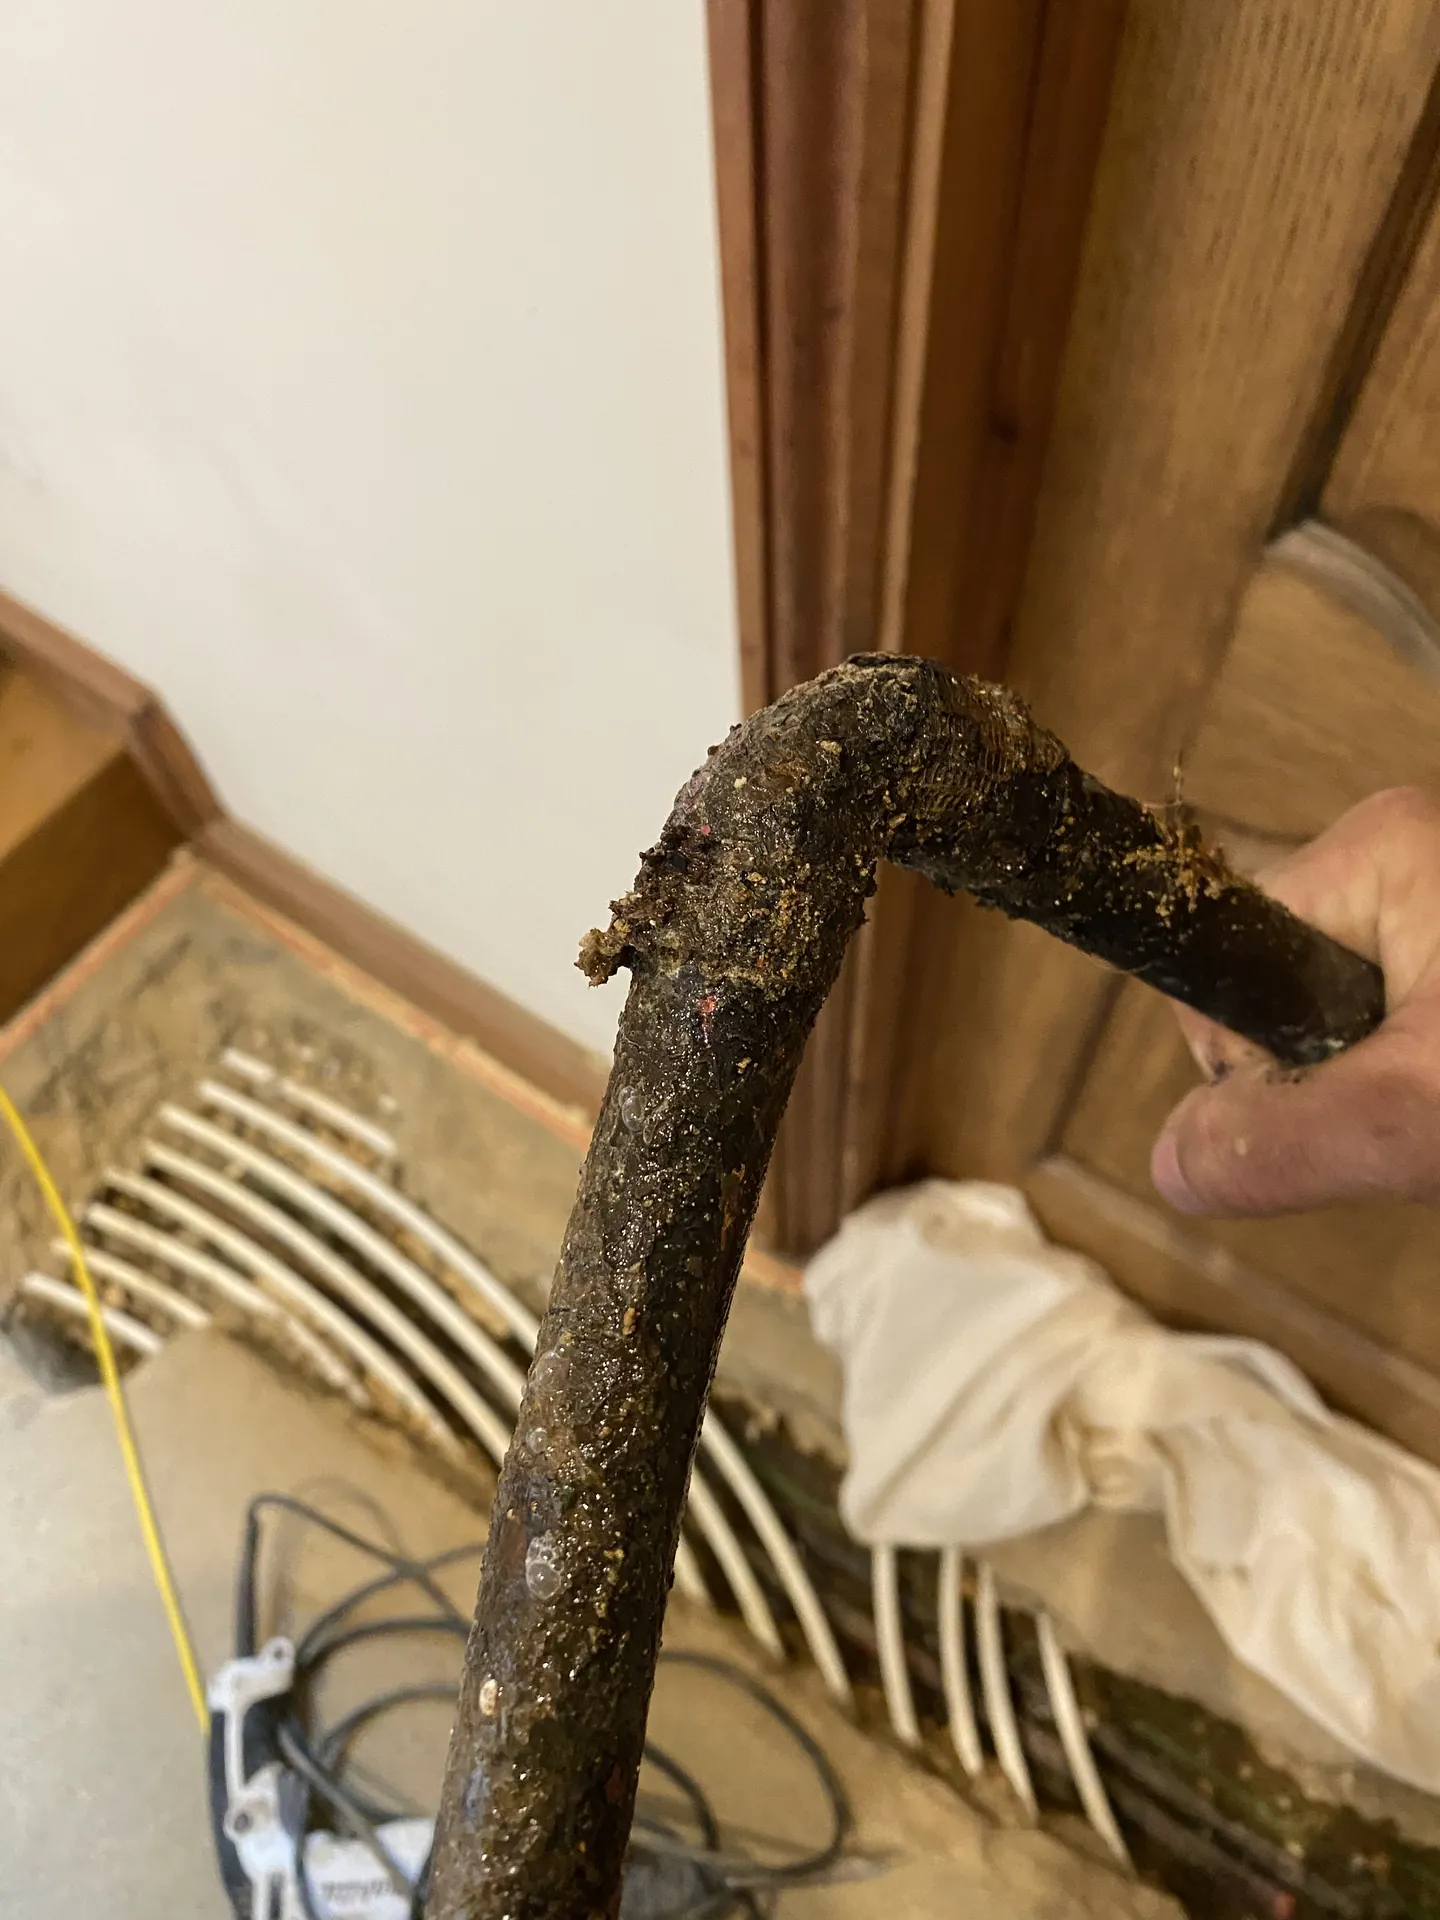
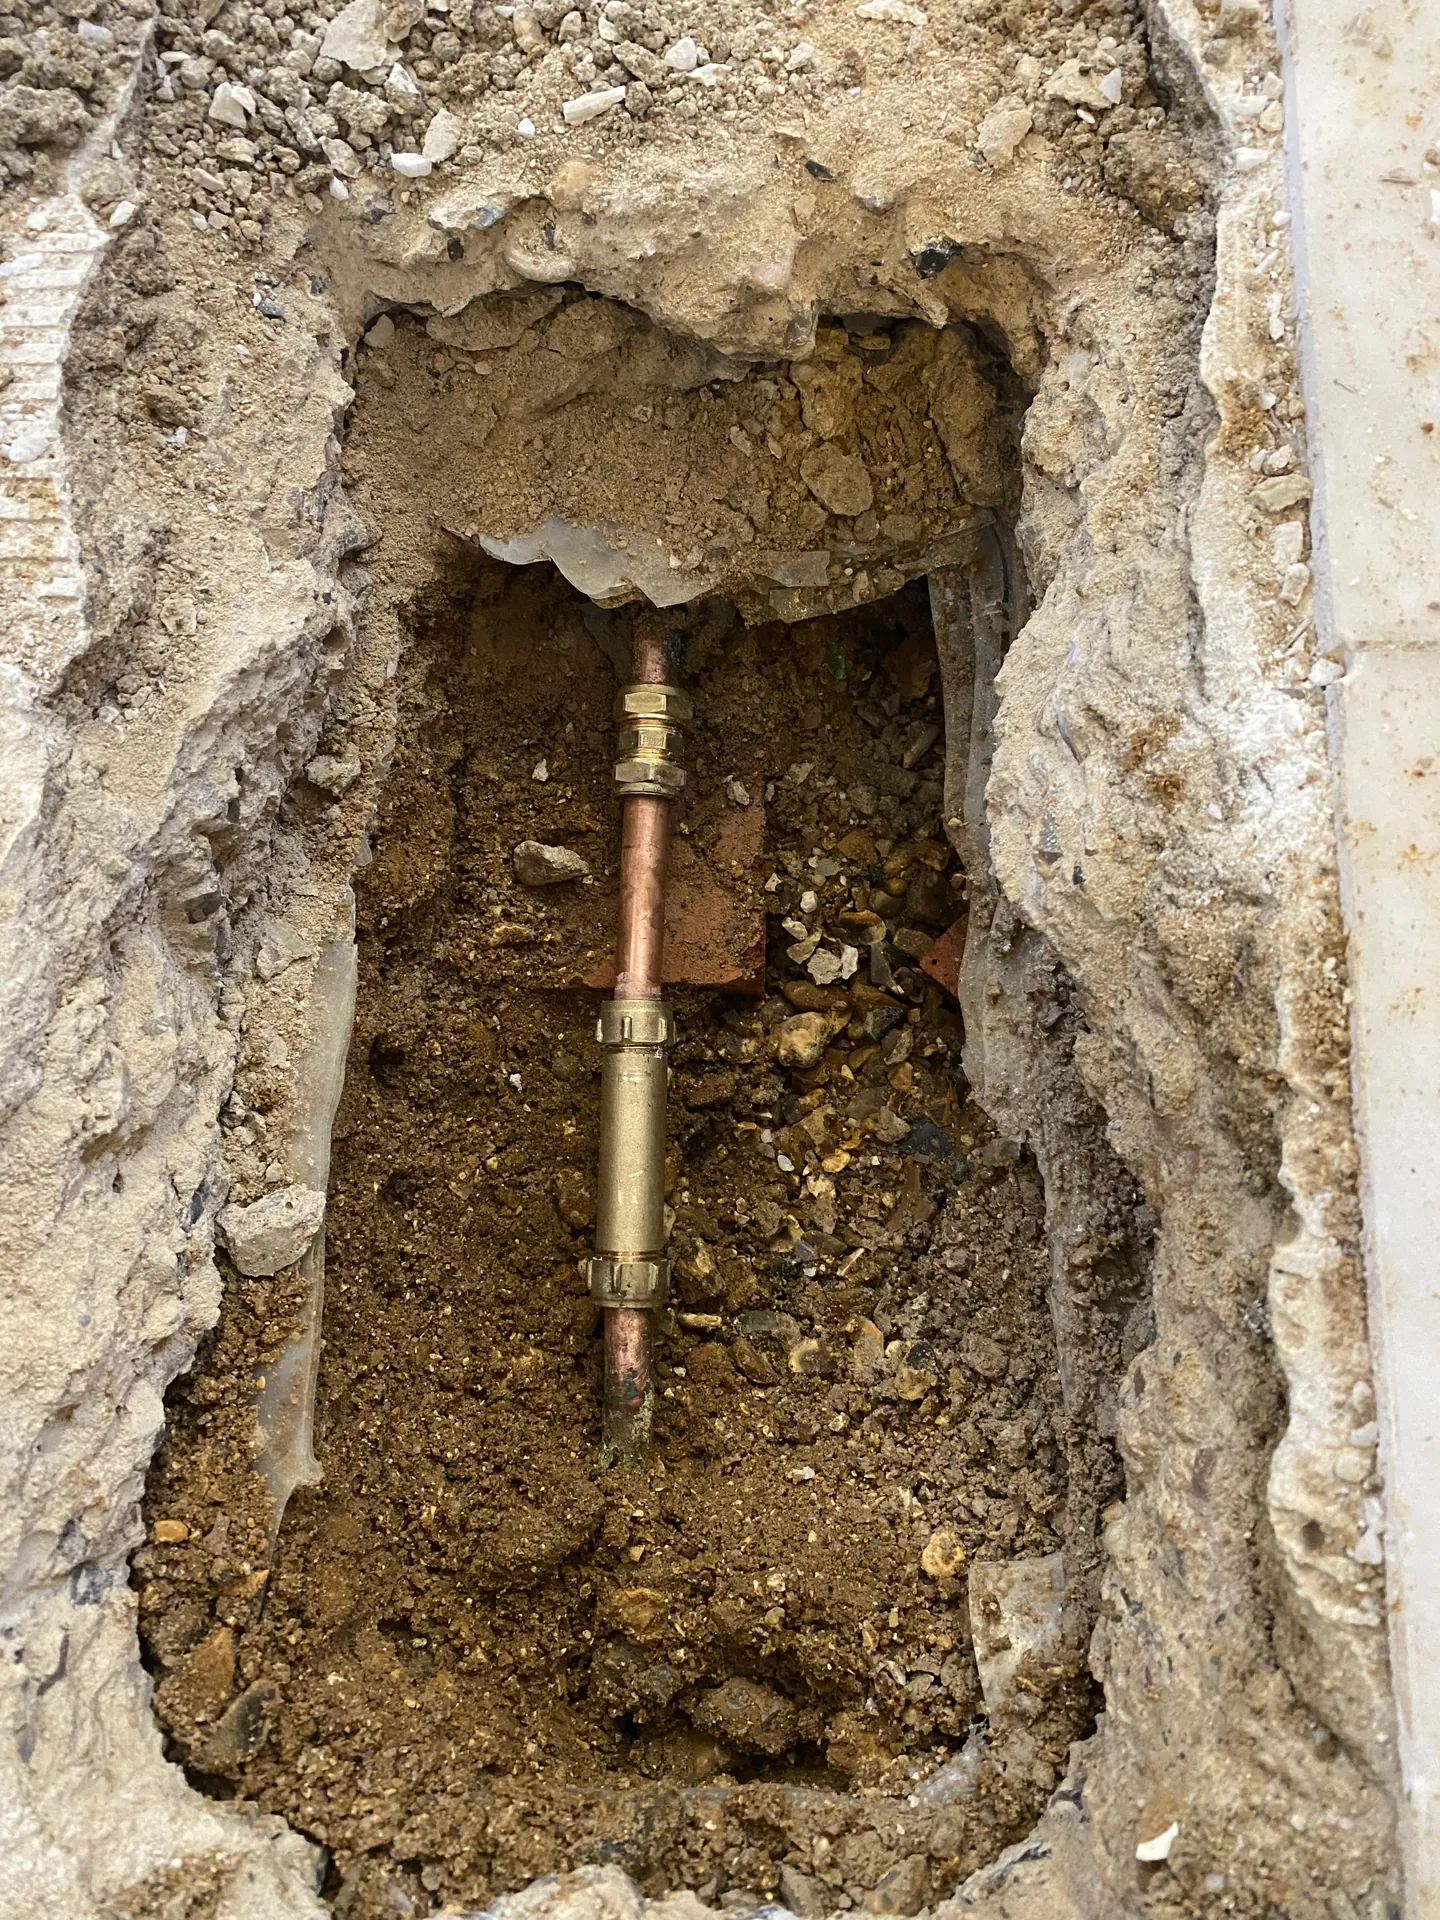
Once the leak is marked we can open the floor in that one place, repair the pipe with a proper press joint, test the loop again and hand the floor back to your tiler or floor fitter. The report includes the manifold test results, the thermal images and photographs of the repair.
Underfloor heating in our own photos
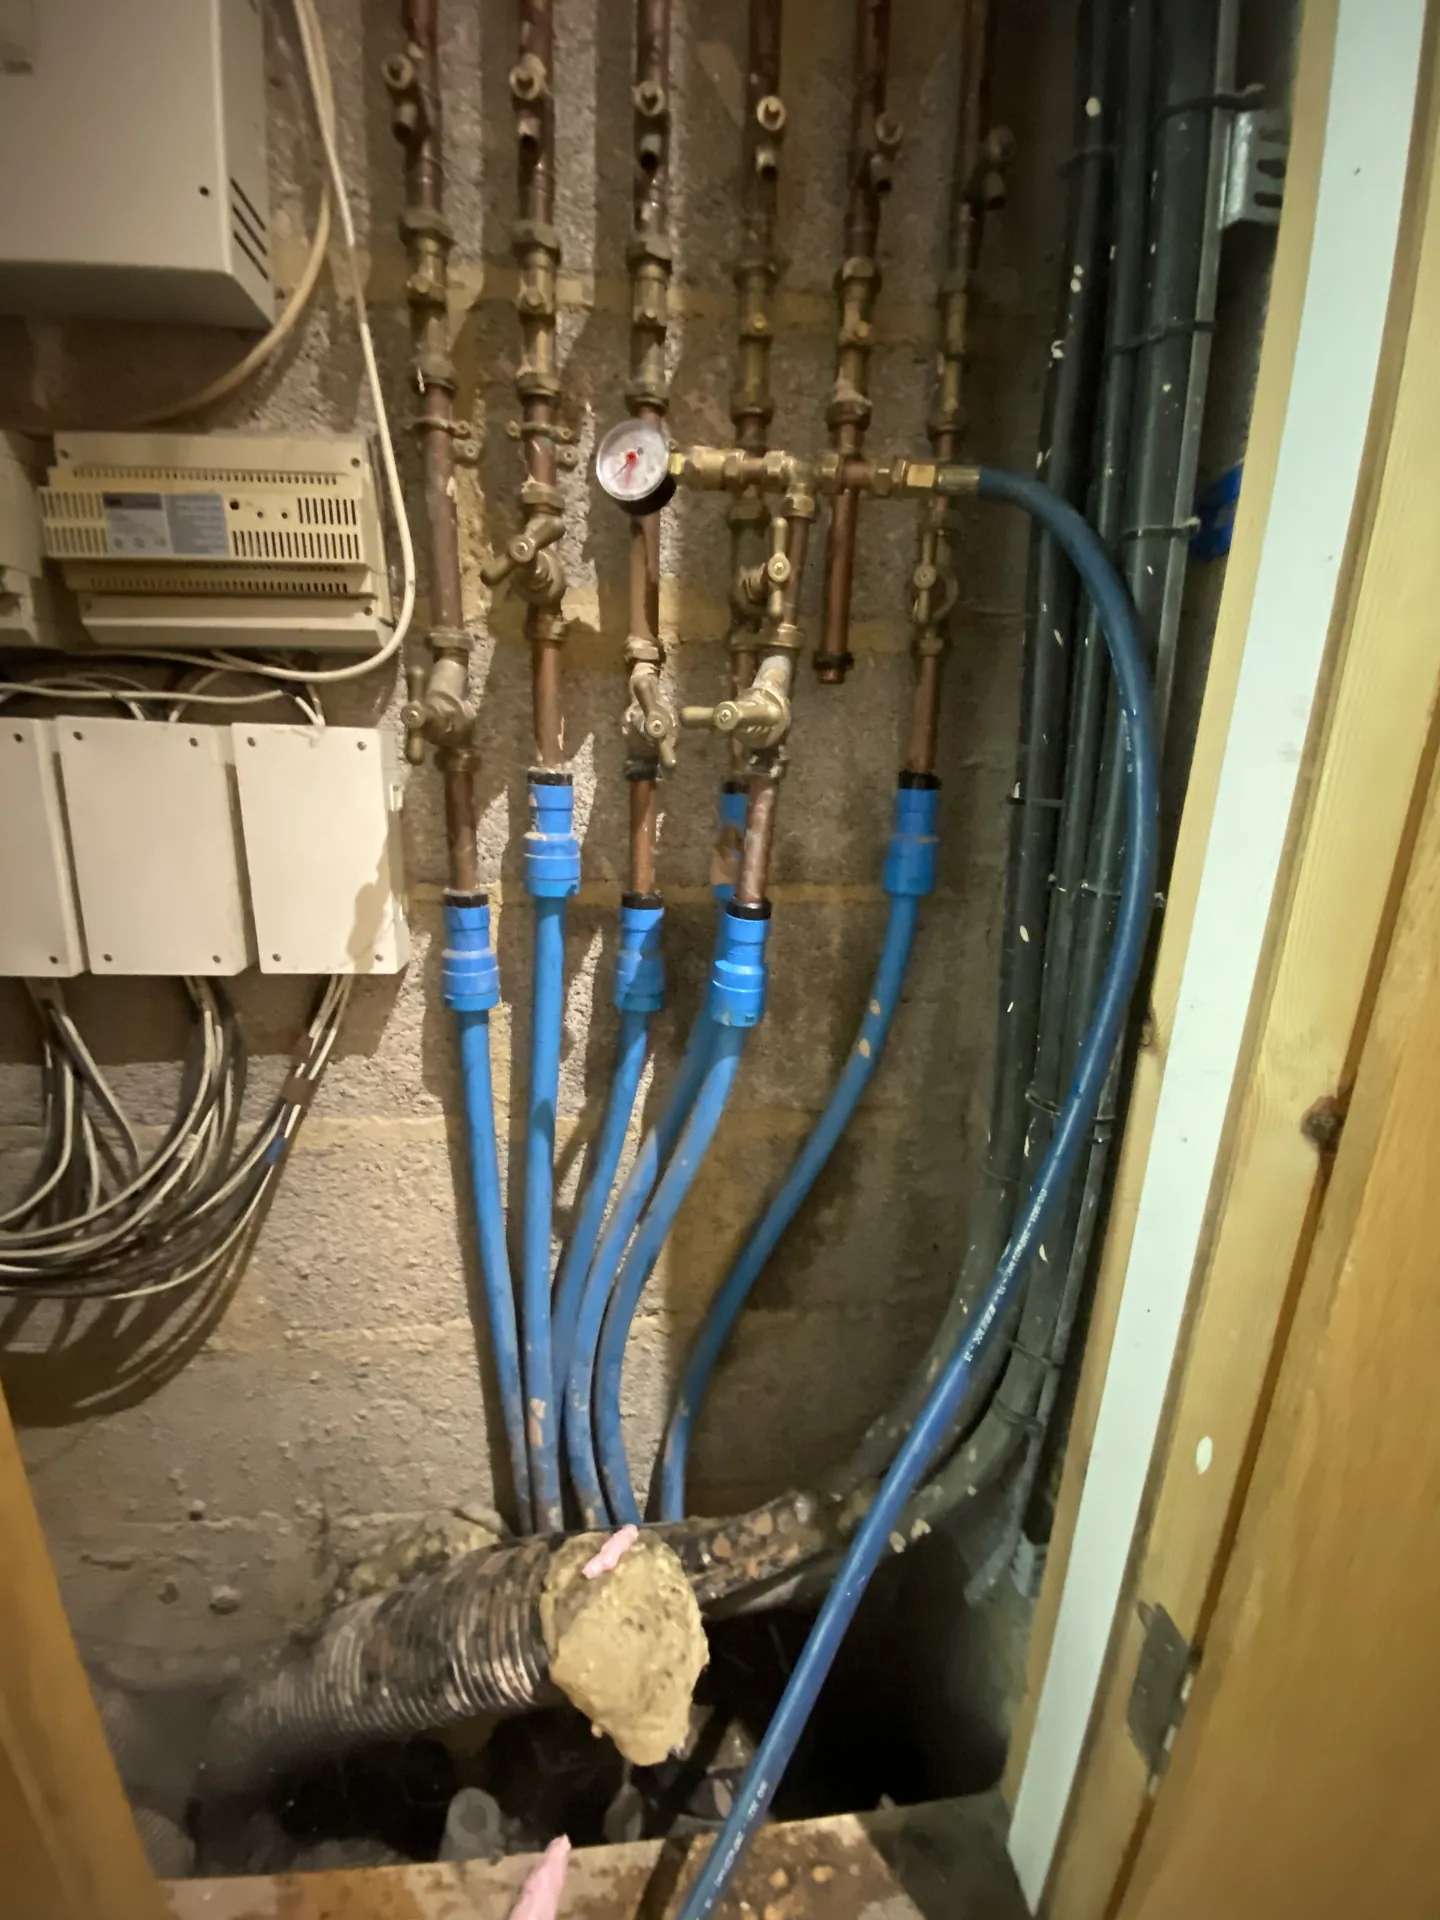
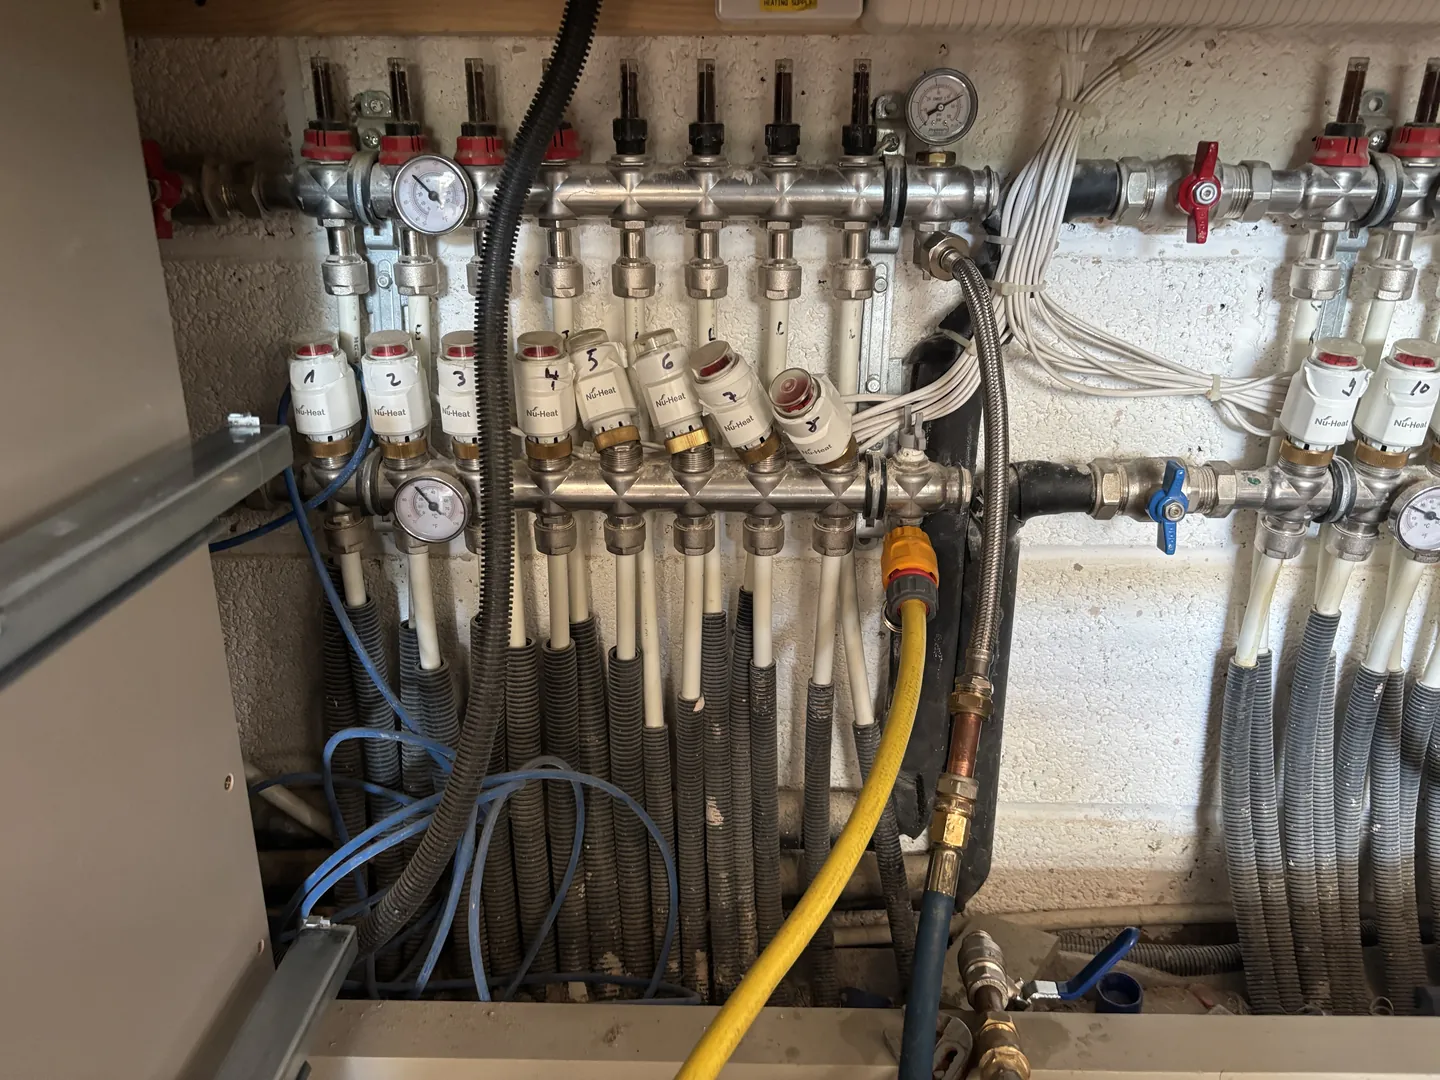
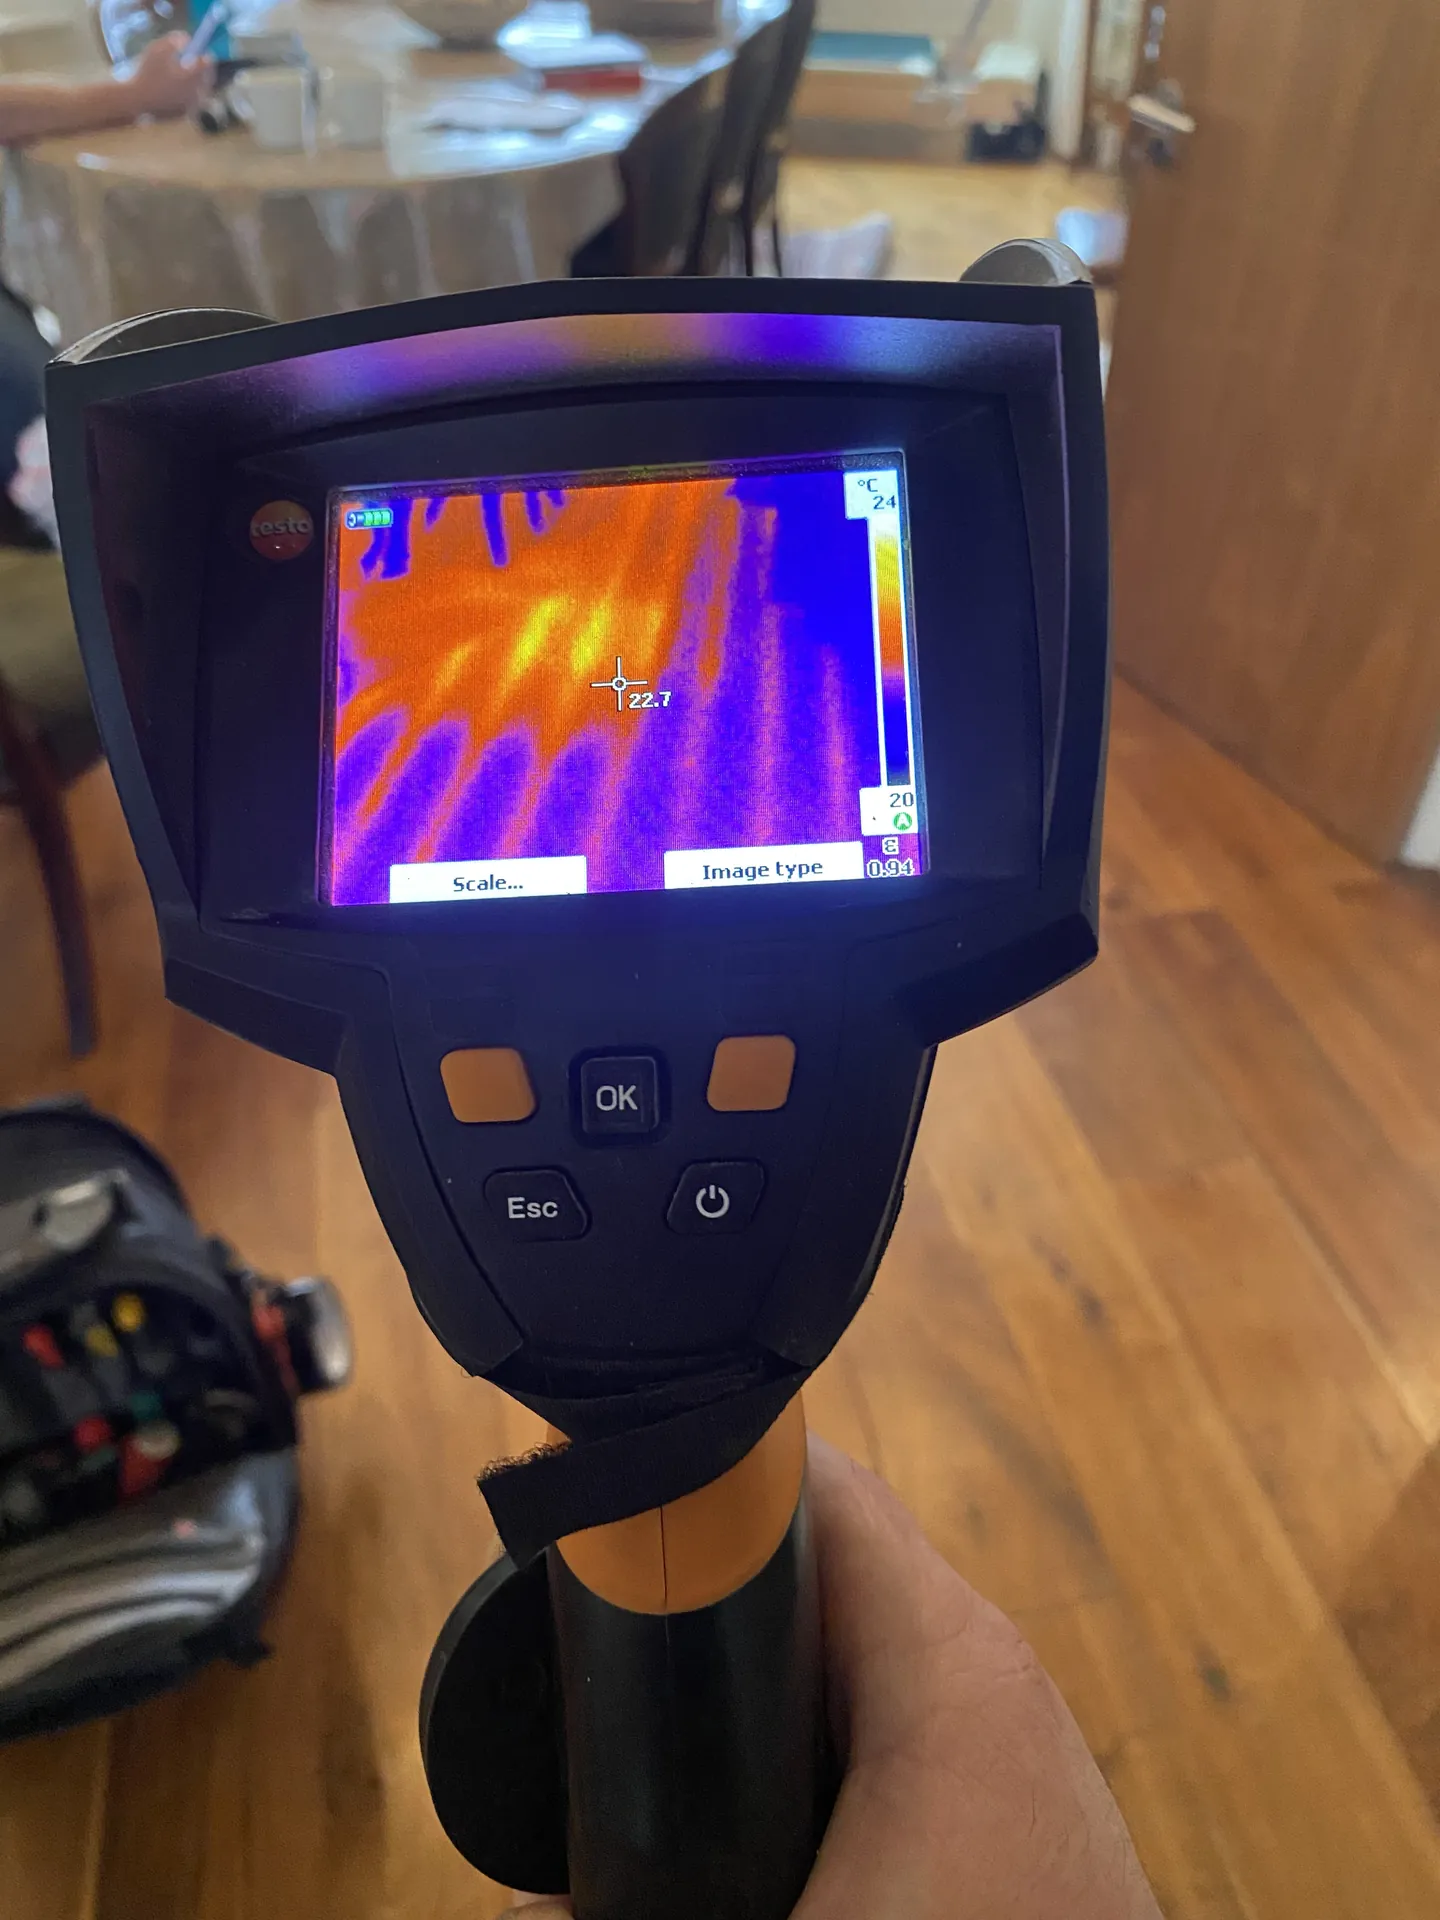
From your first call to a leak you can see in the report
Call or WhatsApp with a few photos and a line about the symptoms. We ask a handful of questions, agree a fixed price and book the survey, usually for the same or the next day.
On arrival we pressure test the mains, hot water and heating, check the meter and test the escaping water, so we know what we are looking for before the detection starts.
Thermal imaging, the acoustic ground microphone and tracer gas are used as the pipework dictates until the leak is marked on the floor or wall.
You get a written report with readings, thermal images and photographs, ready for a trace and access claim. If you want the leak fixed, we open that one spot and repair it.
A report your insurer can act on
Most buildings insurance policies include trace and access cover for finding a hidden leak and making good the way in. Our report is written for that claim: what we tested, what we found, where it is, with photographs, thermal images and readings.
- Turn off the stop tap or the heating and stop topping up
- Photograph the damage, the boiler gauge and the meter
- Tell your insurer a leak is suspected and detection is being arranged
- Trace and access pays to find the leak and make good the access
Underfloor heating: questions answered
Can you find an underfloor heating leak without lifting the floor?
Yes. Isolating loops at the manifold tells us which circuit is leaking, the thermal camera shows the pipe through the finished floor, and tracer gas pinpoints the leak from above. The floor is only opened once we know exactly where.
Does it work under tiles and stone?
Yes. Heat travels through tile and stone well, so the pipe layout shows clearly on the thermal camera. Tracer gas also passes through grout lines and tile joints to the detector.
What causes underfloor heating to leak?
Most leaks we find are at joints made during installation, damage from fixings or later building work, or a pipe crushed before the screed went down. Occasionally a manifold connection is the problem, which is a much simpler repair.
How much of the floor has to come up for the repair?
Normally a single area big enough to work on the pipe, often only a few tiles. Because the leak is pinpointed first, there is no need to open the floor along the whole run.
Should the heating be on when you arrive?
Yes, please. If the system is losing pressure and shutting down, turn it on an hour or two before we arrive so the loops are warm for the thermal survey.
Related services
Think it is a underfloor heating problem?
Call now and we will tell you straight away whether it needs a same-day visit. Or send a photo of the stain, the meter or the boiler gauge on WhatsApp.
07516 755 680